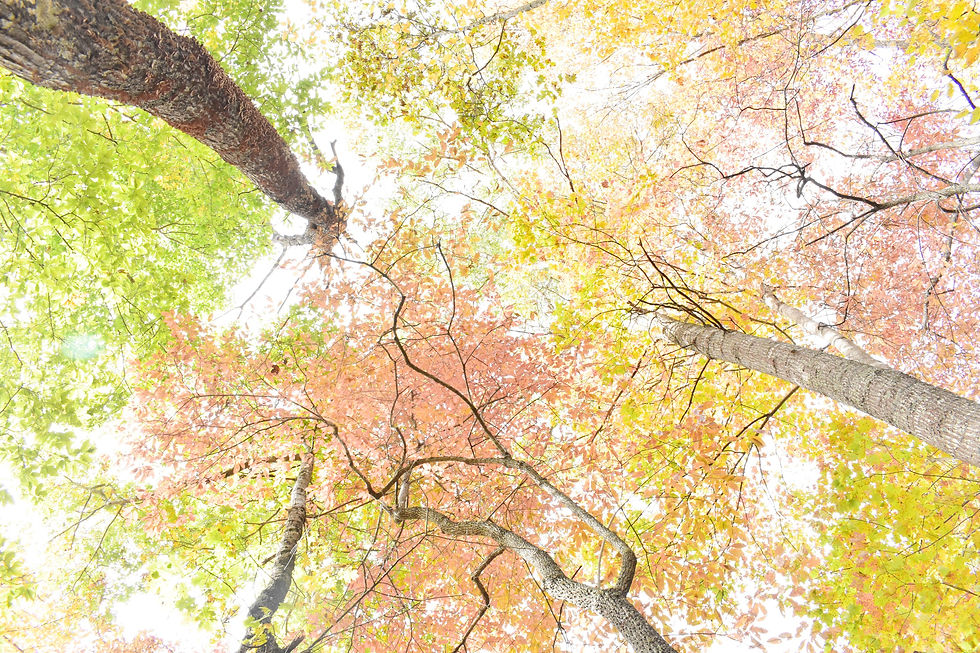
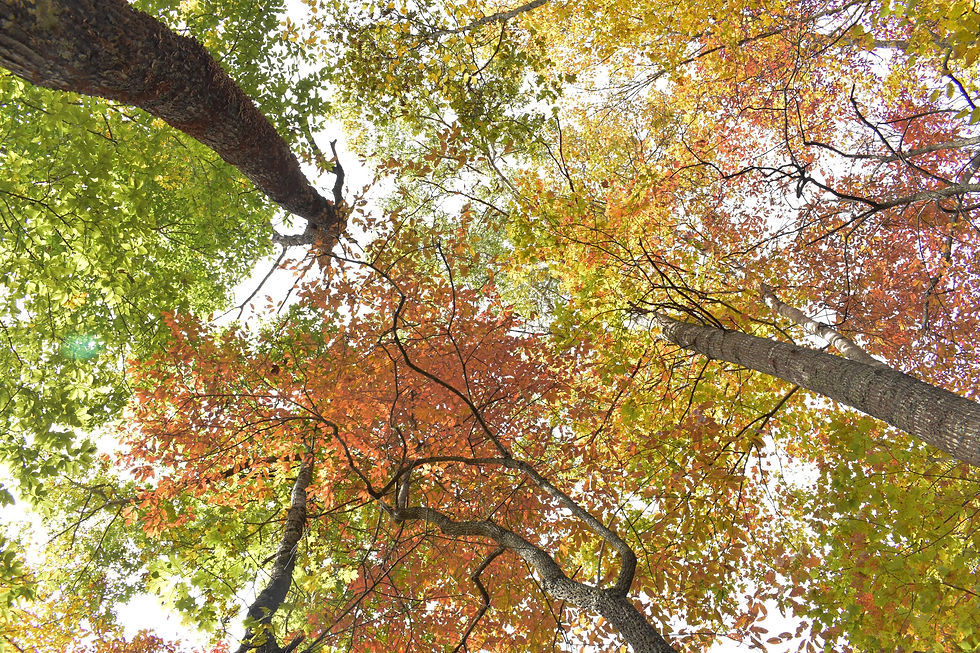
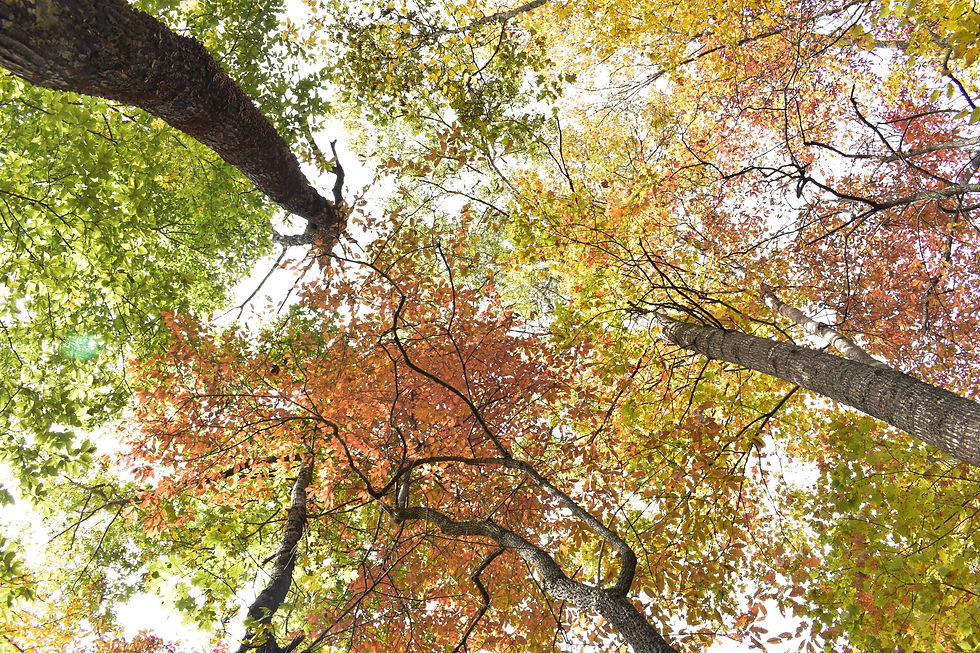
*Affiliate links may be used, which costs you no extra, but does allow us to get a small commission should you decide to purchase an item.
Are you looking to become a master of Adobe Lightroom? Knowing the fundamentals of exposure, contrast, highlights, shadows, whites, and blacks is essential for creating jaw-dropping edits. If these terms sound intimidating, don't worry! With just a few simple tips and tricks, you'll be on your way to becoming a Lightroom pro in no time at all. Step into the exciting world of photography and discover how to make your photos pop with the basics of understanding exposure, contrast, highlights, shadows, whites, and blacks in Adobe Lightroom. In this article, you'll learn the different features of Lightroom, and find out how to maximize them to take your photos to the next level. Get ready to start crafting captivating visuals with Adobe Lightroom - let's dive right in!
Exposure: What is it and How is it Used to Control Light?
The exposure slider in Adobe Lightroom is a powerful tool for adjusting the overall brightness of an image. By adjusting the exposure, you can make an image appear brighter or darker, and bring out the details in the highlights and shadows. Here's a step-by-step guide on how to utilize the exposure slider in Lightroom:
Load the image into Lightroom: The first step is to import the image you want to edit into Lightroom. You can do this by selecting "Import" from the File menu or by using the keyboard shortcut Ctrl + Shift + I (Cmd + Shift + I on a Mac).
Adjust the exposure: To adjust the exposure, simply click and drag the exposure slider to the right to make the image brighter, or to the left to make it darker. You can also use the keyboard arrow keys to make small adjustments.
Preview the changes: As you make changes to the exposure, you'll see the changes reflected in the preview window. You can also use the "Before" and "After" buttons in the toolbar to compare the original image to the edited version.
Fine-tune the exposure: After you've adjusted the exposure, you may need to make further adjustments to the highlights, shadows, whites, and blacks to achieve the desired result. The goal is to find a balance between the exposure and these other parameters so that the image looks natural and has a good level of detail in both the highlights and shadows.
Check the histogram: The histogram is a graph that shows the distribution of tones in an image. You can use it to make sure that the exposure is set correctly. A histogram that's heavily weighted towards the left side means that the image is underexposed, while a histogram that's heavily weighted towards the right side means that the image is overexposed. You want to aim for a histogram that covers the full range of tones, without being clipped on either end.
By following these steps and using the exposure slider in Adobe Lightroom, you'll be able to improve your photos and get the results you want. Remember to take your time and make small adjustments, as a little goes a long way when it comes to exposure.


Contrast: How to Set the Perfect Contrast for Your Photo
The contrast slider in Adobe Lightroom is a tool for adjusting the difference between the light and dark areas of an image. By increasing or decreasing the contrast, you can make an image appear more vivid or muted, and bring out the details in the highlights and shadows. When you increase the contrast, the brighter areas of the image become brighter, and the darker areas become darker, creating a greater separation between the light and dark areas. Conversely, when you decrease the contrast, the brighter areas become less bright and the darker areas become less dark, resulting in a flatter, less dramatic image. The contrast slider can be a powerful tool for creating a wide range of effects, from high-impact images with deep blacks and bright whites, to soft and dreamy images with gentle tonal transitions.


Want to have full control over photo manipulation? Click here to try out Adobe Lightroom for free!
Highlights & Shadows: Balancing Brightness and Detail
The highlights and shadows sliders in Lightroom are two tools that allow you to adjust the brightness of the brightest parts of an image that are not pure white (highlights) and darkest (shadows) areas of an image, respectively. These sliders give you the ability to recover detail in overexposed and underexposed areas of your image, making it easier to see the details in the highlights and shadows.
Here's how the highlights and shadows sliders work:
Darkening highlights: If your image has overexposed highlights that have lost detail and appear as white areas, you can use the highlights slider to bring back detail and restore the tonal range of the image. To do this, simply drag the highlights slider to the left to reduce the brightness of the highlights.
Brightening shadows: If your image has underexposed shadows that appear too dark and lack detail, you can use the shadows slider to brighten them up. To do this, simply drag the shadows slider to the right to increase the brightness of the shadows.
Brightening highlights: On the other hand, if your image has underexposed highlights that appear too dark and lack detail, you can use the highlights slider to brighten them up. To do this, drag the highlights slider to the right to increase the brightness of the highlights.
Darkening shadows: On the other hand, if your image has overexposed shadows that appear too bright and lack depth, you can use the shadows slider to darken them. To do this, drag the shadows slider to the left to decrease the brightness of the shadows.
Fine-tuning: When adjusting the highlights and shadows, it's important to find a balance between the bright and dark areas of the image. If you brighten the highlights or shadows too much, they may appear too light and washed out or too dark and lacking detail, respectively. To get the best results, it's often helpful to adjust the highlights and shadows in conjunction with other tools, such as the exposure, contrast, whites, and blacks sliders.


Whites & Blacks: Adjusting White and Black Points to Perfect Your Picture
The whites and blacks sliders in Adobe Lightroom are two tools that allow you to adjust the brightness of the whitest, pure white (whites) and blackest (blacks) areas of an image, respectively.
Here's how the whites and blacks sliders work:
Adjusting the whites: If your image has overexposed highlights that appear as white areas without any detail, you can use the whites slider to bring back detail and restore the tonal range of the image. To do this, simply drag the whites slider to the left to reduce the brightness of the whites. On the other hand, if your image has underexposed highlights that appear too dark, you can use the whites slider to brighten them up. To do this, drag the whites slider to the right to increase the brightness of the whites.
Adjusting the blacks: If your image has underexposed shadows that appear too dark and lack detail, you can use the blacks slider to brighten them up. To do this, simply drag the blacks slider to the right to increase the brightness of the blacks. On the other hand, if your image has overexposed shadows that appear too bright, you can use the blacks slider to darken them and produce bold detail. To do this, drag the blacks slider to the left to decrease the brightness of the blacks.
Fine-tuning: When adjusting the whites and blacks, it's important to find a balance between the bright and dark areas of the image. If you brighten the whites too much, they may appear too light and washed out, while if you darken the blacks too much, they may appear too dark and lacking detail. Again, it is important to use these features in addition with the other features in Lightroom.
Summary
By understanding the basics of using exposure, contrast, highlights, shadows, whites, and blacks in Adobe Lightroom, you can take your images to the next level. With these simple tools, you can transform a mediocre image into an eye-catching masterpiece that is sure to draw attention. The best part? You don't have to be a professional photographer to do it. All you need are the basics, a few tips, and a bit of practice. So, let's all get out there and start taking amazing photos! As the great Henri Cartier-Bresson famously said, “Your first 10,000 photographs are your worst.” So, go ahead and start your journey!
If you have any questions or comments on the basics of using exposure, contrast, highlights, shadows, whites, and blacks in Adobe Lightroom, please leave a comment below. We’d love to hear from you!
Want to create stunning images that will awe your social media followers? Try out Adobe Lightroom! Click here for your free trial!

Comments